


Whether you live in an apartment or own your own home, you know all too well the lump that arises in your throat when you come home to a plumbing disaster. Some issues are straightforward enough to tackle on your own; others require professional assistance. Whatever plumbing challenge you might be facing, a little grunt work combined with some plumbing know-how can save you a considerable amount of time - and money - compared to hiring a plumbing service to fix common issues.
The Basics
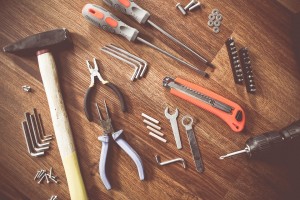
Every homeowner should have a plumbing emergency kit in the event of a major leak or disaster. During your next trip to the home improvement store, consider picking up the following (if you don't have them on hand already):
- Locking Pliers
- Needle Nose Pliers
- Plumbers Tape
- Plumbers Putty
- Caulk and Caulk Gun
- Basin Wrench
- Closet Auger
- Hand Auger (Plumber's Snake)
- Hacksaw
- Plungers
- Pipe Wrench
- Allen Wrench Set
- 5 Gallon Bucket
- Spare Shop Towels
- ShopVac
Once you've got your gear assembled and ready to go, it may be wise to keep a short list of what to do in the event of a plumbing emergency - especially if you aren't home at the time. Make note of the location of the main water valve, electrical breakers, and the number of your preferred plumbing professional.
How to Solve Common Plumbing Problems
Even if you have a thorough plumbing maintenance inspection performed on your home, plumbing emergencies are never predictable and almost always occur at the worst times possible. Thankfully, a dry and secure future is possible with a bit of extra work and effort on your part. If the following plumbing issues come up in your day-to-day, consider the following guide your new best friend.
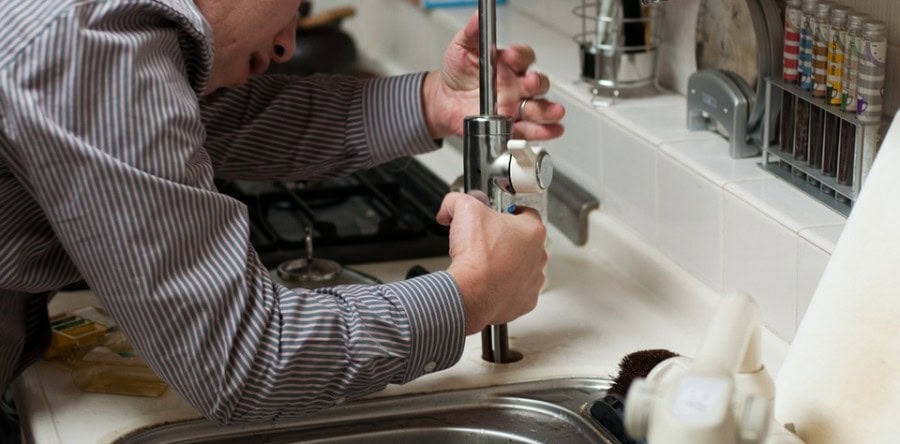
Dripping Faucets
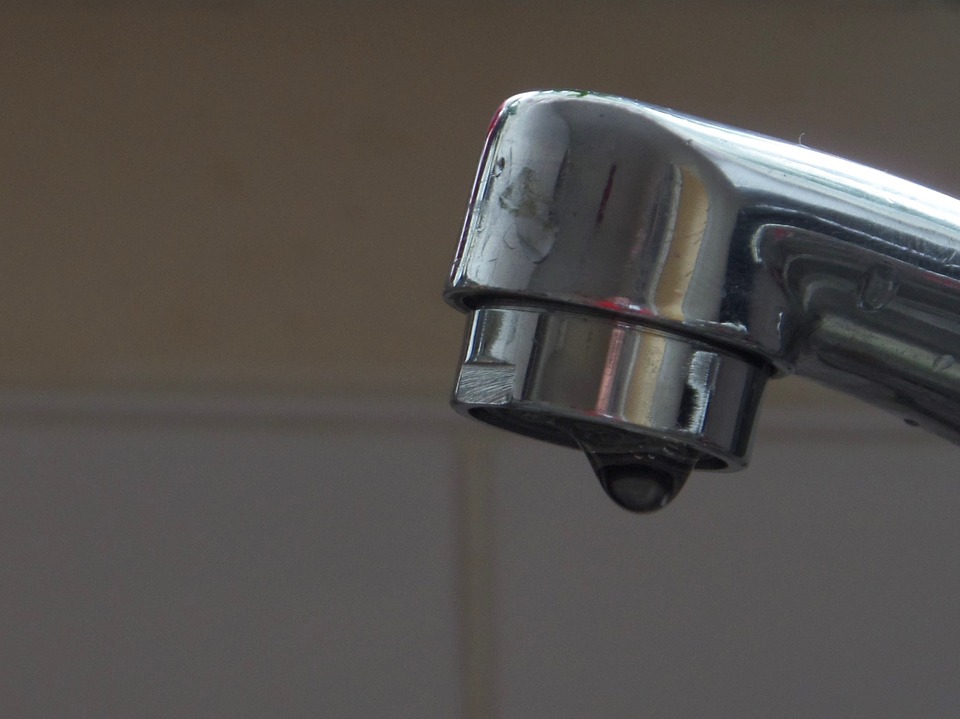
Even the slowest drips can add up to thousands of wasted gallons per year. Thankfully, fixing a leaky faucet is a fairly straightforward and simple process provided you have the right tools (and you should).
First, turn off the water valve below your sink and plug the drain so none of your parts fall through. You'll want to make note of your faucet's brand name and model in case you need to hunt for replacement parts. If your faucet is of the two-handle variety, test the water temperature of the leak and focus your work on the affected side. Remove the handle with a screwdriver or Allen wrench and set it aside.
Single-handle faucets will have a metal ring attached. Use your needle nose pliers to tighten the ring. With any luck, your problem should disappear, but if not, you might need to reference the instructions on any replacement parts you purchase. For two-handle faucets, you should see a nut beneath the handles. Remove the nut and pull the stem beneath up and out. If you have a newer model, there should be a cartridge attached. If your faucet is older, the stem and washer should come out easily. Through the now vacant hole, peer down to locate the seat. If the seat looks shiny and new, it's fine. If not, you'll need to unscrew and replace it.
At that point you should be in the clear. From there, replace the parts in reverse order and turn the water back on.
Low Water Pressure
Low water pressure isn't just an inconvenience that leads to disappointing showers - it can be a sign of additional plumbing issues throughout your home. Debris in your pipes, corrosion, and leaks in the plumbing are all potential problems that can reduce your water pressure and are the most common sources of weak water pressure. However, the possibility exists that the issues stem from the water supply itself, to which you'll have to contact your local water supply company to request an investigation into your issue.
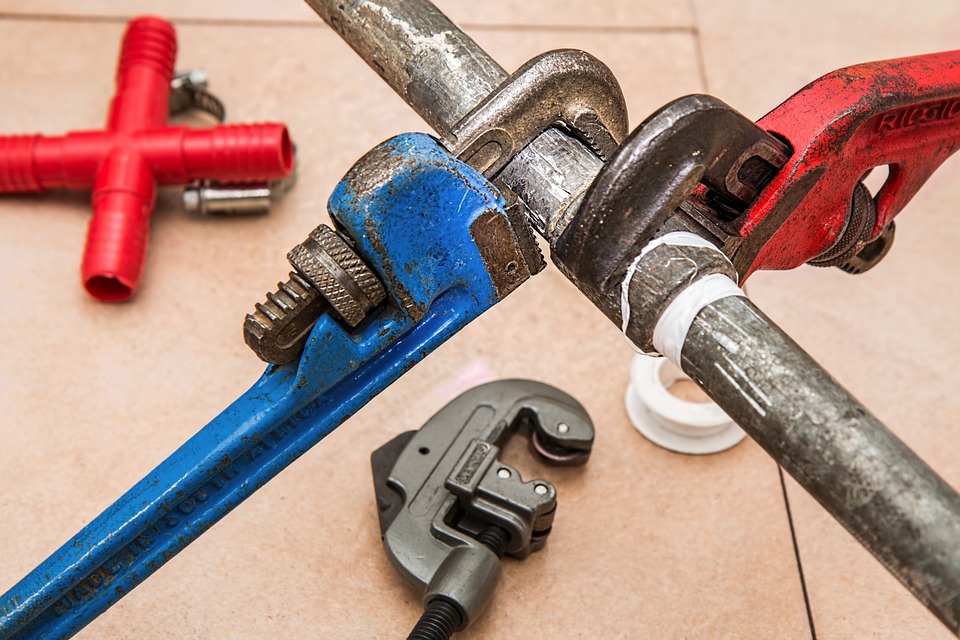
Leaking Pipes
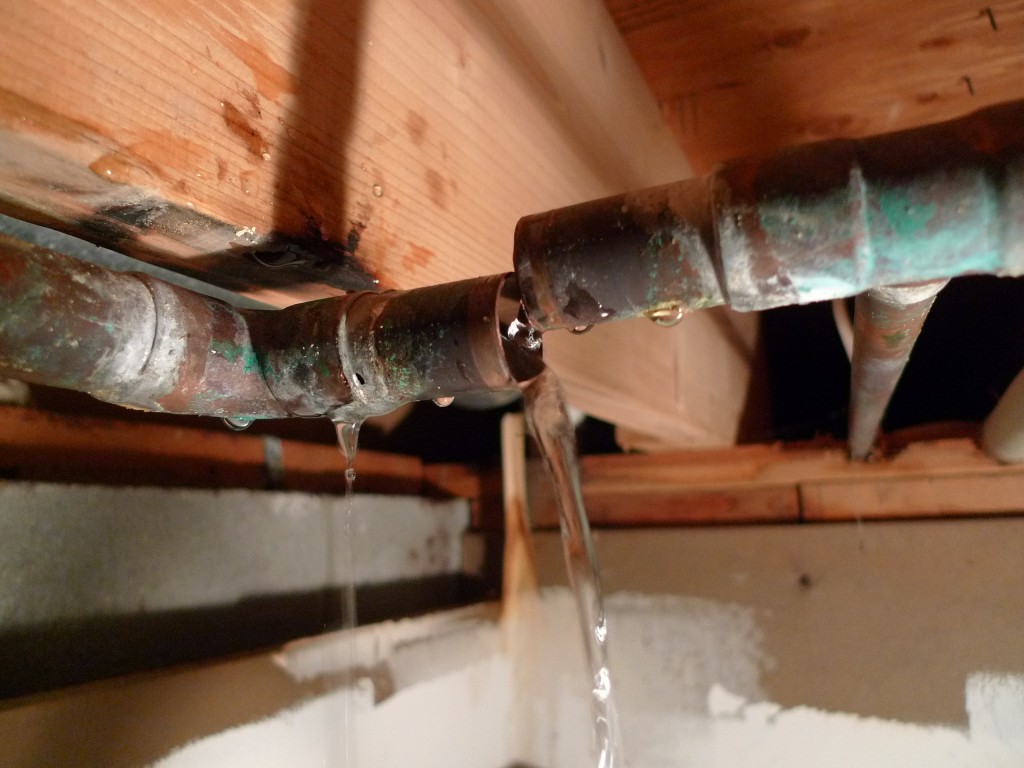
No matter the location or severity of a leaking pipe, it's in your best interest to fix the problem as soon as possible. If you suspect the leak is coming from beneath your construction materials, the problem may get messier than you can handle on your own. However, if you have access to your pipes and the adorning joints, you should be able to correct the issue with little trouble.
First, shut off the water supply to the affected pipe. Most smaller problems can be corrected with a simple patch kit and a piece of garden house to secure the pipe. If the leak is small enough, a couple of layers of waterproof tape may be used as a temporary fix, as can epoxy putty.
For longer-term, more permanent fixes, the damaged section of pipe or pipe joint needs to be replaced. We recommend contacting a professional plumbing service to ensure quality and consistency in your work as well as ensuring your home's plumbing stays up to code.
Running Toilet
The sound of a running toilet should be apparent to anyone familiar with the conveniences of modern plumbing. Thankfully, it's a relatively easy problem to fix, but in order to discover the root of the problem, you'll need to put on your investigative hat.
The most common issue when it comes to leaking toilets is the flapper. A simple piece of rubber that sits inside the tank and lifts to release water into the bowl when flushed, toilet flappers tend to corrode over time and needs to be replaced. Using your hand or a short stick, push the flapper down to its proper resting position. If that solves the problem, voila! Replace the flapper and you're good to go.
If replacing the flapper doesn't fix your toilet's constant running, the float may be the culprit. The float is the plastic ball in your toilet tank that indicates the water level. If the float is set too high, the water level will rise over the overflow pipe and cause the tank to drain on a constant basis. Thankfully, adjusting the float is easy - simply adjust the small screws on the top of its valve to adjust it.
If neither of the solutions above fix your problem, the fill valve may be your last resort. A fill valve allows the tank to fill with water to the correct level. First, use the shut off valve on the wall or behind the tank to turn off water to the toilet and flush the remaining water out of the toilet. Next, disconnect the water supply line and unscrew the nut from outside the tank. Disassemble the fill valve and replace with a new mechanism according to the instructions on the packaging.
Slow Drains
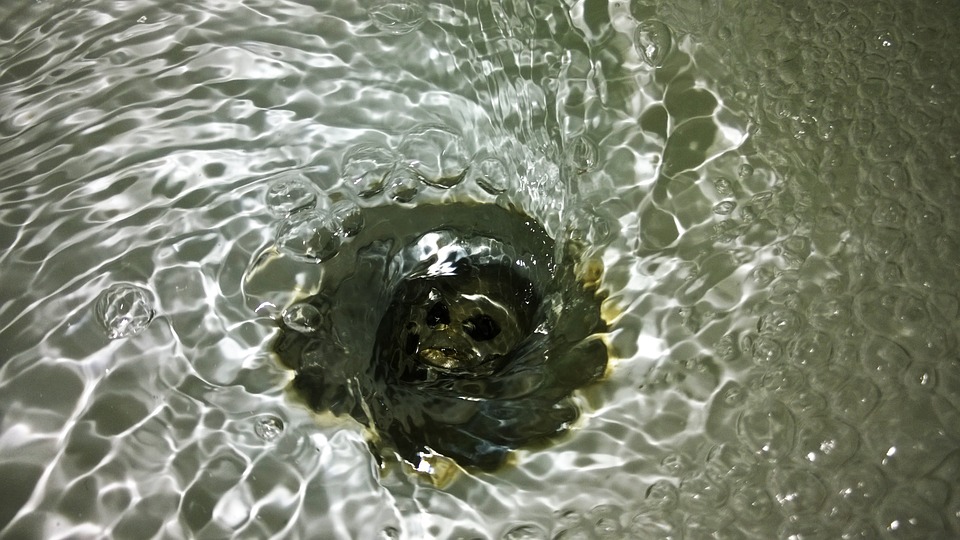
Depending on the amount of use your drain gets (and what goes down it), there will be periods of time when they drain slowly - or not at all. Thankfully, clearing clogged drains isn't a complex procedure and can often be completed with a few household tools.
Despite claims to the contrary, most plumbers will recommend against chemical, industrial strength drain cleaners, sharp objects, and toilet plungers to clear slow or clogged drains. Instead, consider using a bent clothes hanger and some boiling water for surface-level clogs.
For clogged drains in the kitchen, using a homemade drain cleaner with baking soda and vinegar will break down pesky grease build-ups.
If neither strategy works and your drains are still slow, using a plumbing snake to clear deep clogs is your best bet before throwing in the towel and calling a professional plumber.
Clogged Toilet
An overflowing toilet can wreak havoc in any bathroom. If you see the water level rising, be sure you only flush one time - otherwise you may end up with wet feet and a whole lot worse. The first line of defense against a clogged toilet is a plunger, but not all plungers are made equal. The iconic plunger (a stick and a cup-like rubber end) are actually made for sinks and shouldn't be used in toilets. Plungers with a more cylindrical shape are designed for use in toilet bowls and will be much more effective in removing clogs.
If a plunger doesn't do the trick, a plumbing snake should do the trick. You'll want to extend the snake until you hit the clog and begin to twist until the water begins to drain.
Industrial-strength cleaners, again, are corrosive to your pipes and can be harmful if exposed to skin. Homemade cleaners are the better option for the long-term health of your plumbing and there are two effective options for toilet clogs: dish soap + hot water and baking soda + vinegar solution.
For the dish soap route, pour a teaspoon of standard household dish soap into the toilet bowl and let sit for 10 minutes. Fill a large saucepan with water and bring to high heat - just short of boiling. Remove the pan from the stove and gently pour the hot water into the toilet bowl. The added pressure and hot water should force clogs through your pipes and out of your system. If not, let the solution sit for several hours to see if it can break up the clog.
If you'd prefer to use baking soda and vinegar, pour about half of the baking soda box into the toilet bowl. Slowly pour a bottle of white vinegar into the bowl (be careful, it's going to fizzle!). Leave the solution for about 30 minutes and bring a large saucepan to near-boiling temperature. After the bubbling has stopped, slowly pour the hot water into the clogged bowl and see if the water drains. If the toilet seems to remain clogged, it's time to call for expert help.
Jammed Garbage Disposal
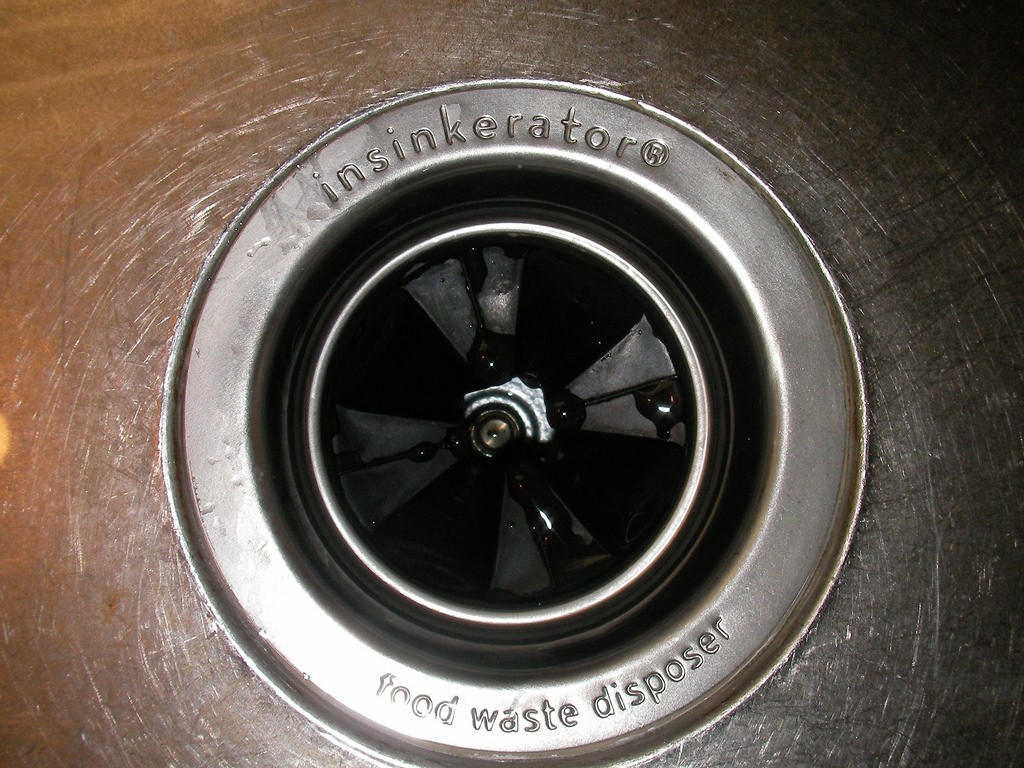
If your garbage disposal sudden stops working, there's a good chance you've experienced a jam. Thankfully, these are relatively simple to correct.
Begin by turning off and unplugging the jammed garbage disposal and checking inside the drain for any loose debris that may be causing the problem (you may need to remove the rubber drain guard and use a flashlight to see down the drain). Note: never put your hand down the drain; use a rubber spatula or needle nose pliers to manipulate any debris inside.
If clearing the debris doesn’t solve the problem, use a garbage disposal wrench or Allen wrench to turn the screw at the very bottom of the disposal in either direction. If it is too difficult to turn, the disposal may need to be replaced.
If the screw turns and you hear something break loose in the disposal, check from the top once again to see if more debris is present. If so, remove it. After you're done, press the reset button (it should be red) on the bottom of the disposal until you hear a mechanical click. Then, plug the disposal back in and test its functionality.
Replacing or Removing a Toilet
Sometimes either due to functionality or form, it's best to just give up on an old toilet and swap it out for a shiny new model. Especially if you're going for a bathroom remodel, a tankless toilet is a great option to instantly beautify your privy and increase your plumbing's water efficiency. But getting there can be a messy and frustrating project.
To remove your old toilet, you'll need a few different wrenches, a putty knife, a screwdriver, a sponge, and a bucket of warm water. (A couple of strong helpers would also come in handy, by the way).
First, turn off the toilet's water supply at the attached valve. Drain the water from the tank and bowl by holding the drain valve open. You can use the sponge to remove any excess water remaining in the system.
Next, loosen the nut that attaches the water line to the tank and remove the floor bolts. Lift the old toilet away and set it aside. You should be looking at an old wax ring and a lot of gunk - take the opportunity to rigorously clean the floor surrounding your toilet drain and use the putty knife to remove the old wax ring from the toilet flange before installing a new one, facing the plastic ring toward the floor.
You'll then want to replace your old water supply line before installing the new toilet. From there, the steps should be fairly straightforward - simply reverse your order from the disassembly of the old toilet and test the new one!
Draining a Water Heater
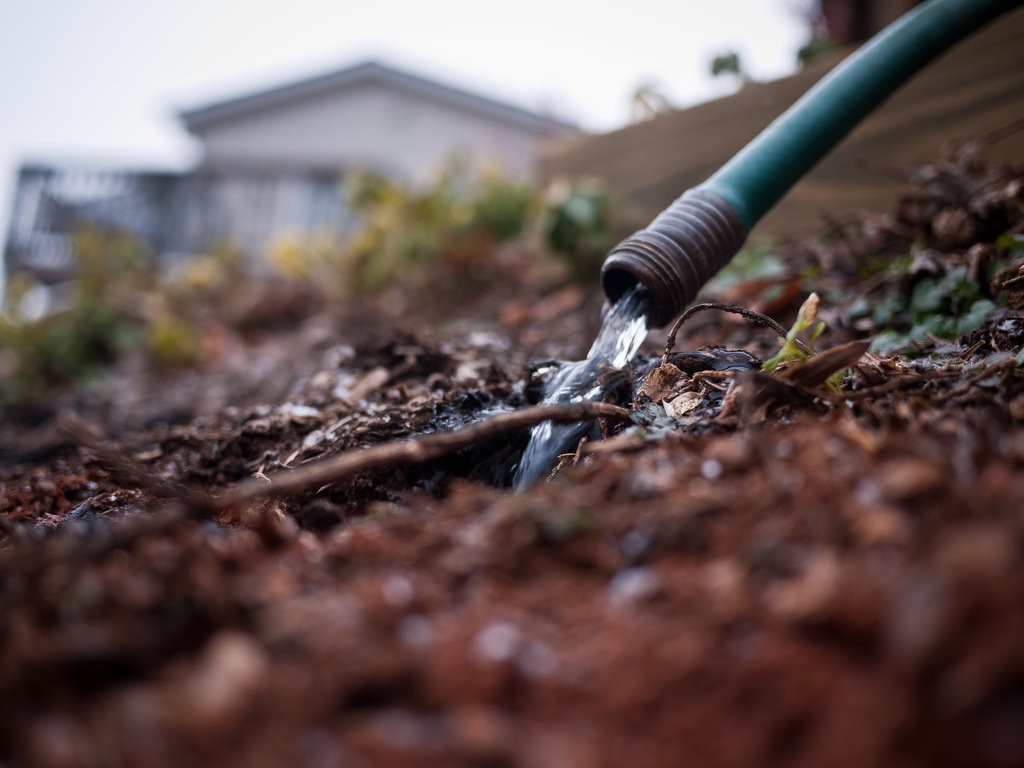
Especially leading up to the chilly winter months, failing to drain your water heater can be costly, leading to hundreds of dollars wasted on inefficient heating. Over time, minerals from your home's water source will begin to settle in the bottom of your water heater's tank. This sediment can lead to inefficiency, damage, and even complete system failure if not properly drained and flushed on a periodic basis.
Before you set about draining your water heater, turn off the power or gas supply to your water heater and shut off the cold water supply valve. Using a garden hose, attach to the bottom of the tank and run it outside and into an acceptable drainage area. Open the drain valve and the pressure relief valve at the top of the tank and let the water drain out.
Once the tank is empty, open the cold water intake valve and let the water flush out any remaining sediment. Once it's clear, close the drain and pressure relief valves and let the tank fill back up. Relight the pilot light or turn the power back on and watch your water heater return to normal function!
We hope this guide served as a useful tool for your home plumbing problems! For all other concerns or for assistance in treating larger, messier plumbing issues in the Seattle area, contact Pioneer Plumbing and Heating today!
